10 Top Tips on How to Insulate a Camper Van
April 28, 2023
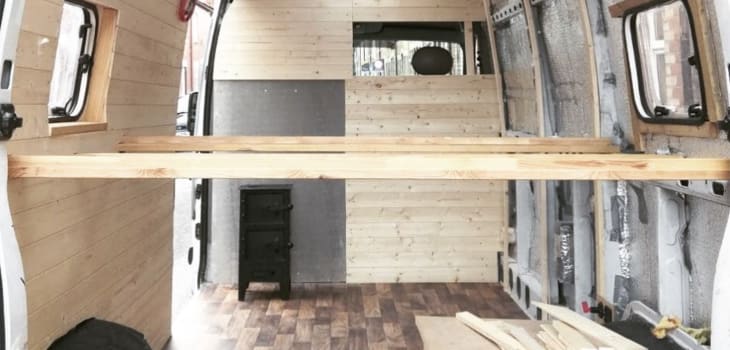
Photo credit @sebsantabarbara
Van life is without a doubt one of the best ways to see the world, travelling on a budget and getting out into the wilderness away from all the tourist hotspots to see untouched areas of natural beauty. It’s a chance to kick back and live a much slower pace of life, getting into the great outdoors and living life on your own terms.
Converting a van is all about making a cosy home away from home, which means you’re going to want to make sure it’s warm on those cold winter mornings. In essence, you’re trying to turn a cold metal object into something comfortable and toasty, so thinking about taking away the chill should be your top priority.
Here are 10 tips for how to insulate a campervan, so can get on the right path to living in a rolling hobbit hole and not a travelling in an ice box!
1. Buy the Correct Tools & Materials
My cousin always says, “If you buy cheap, you buy twice.” Don’t be skimping out on insulation materials here, folks, because this is the part of the camper conversion that will keep you warm while creating a cosy and quiet atmosphere in your tiny home. Don’t think that you can skip this stage either – living in a bare metal box is no fun when it gets to winter, so make sure your camper is insulated thoroughly with the right materials for your build.
Here are a few things to get you started, including different types of insulation:
Kingspan/Celotex
Kingspan and Celotex are brands of insulation board that many people use in larger campervan conversions, especially for under floorboards. (You’ve got to keep those toes warm in winter!) They come in blocks that have a silver foil casing to reflect heat particles back into your living space, and they can be cut very easily to fit any shape. Simply cut with a craft knife and cover any joins with aluminium tape.
Aluminium tape can be picked up easily enough from hardware stores or on sites like eBay. As well as covering any raw joins, it maximises the area that will reflect those important heat particles back into your van. You can fill in gaps with expanding foam, too!
Loft Insulation (Glass Mineral Wool)
Glass mineral wool, more commonly known as loft insulation, is super simple to use in any kind of camper since you can just tear strips off and push into every small space in your van. My walls were so thick with this stuff by the time I had finished that it also deadened the sound from outside the van too!
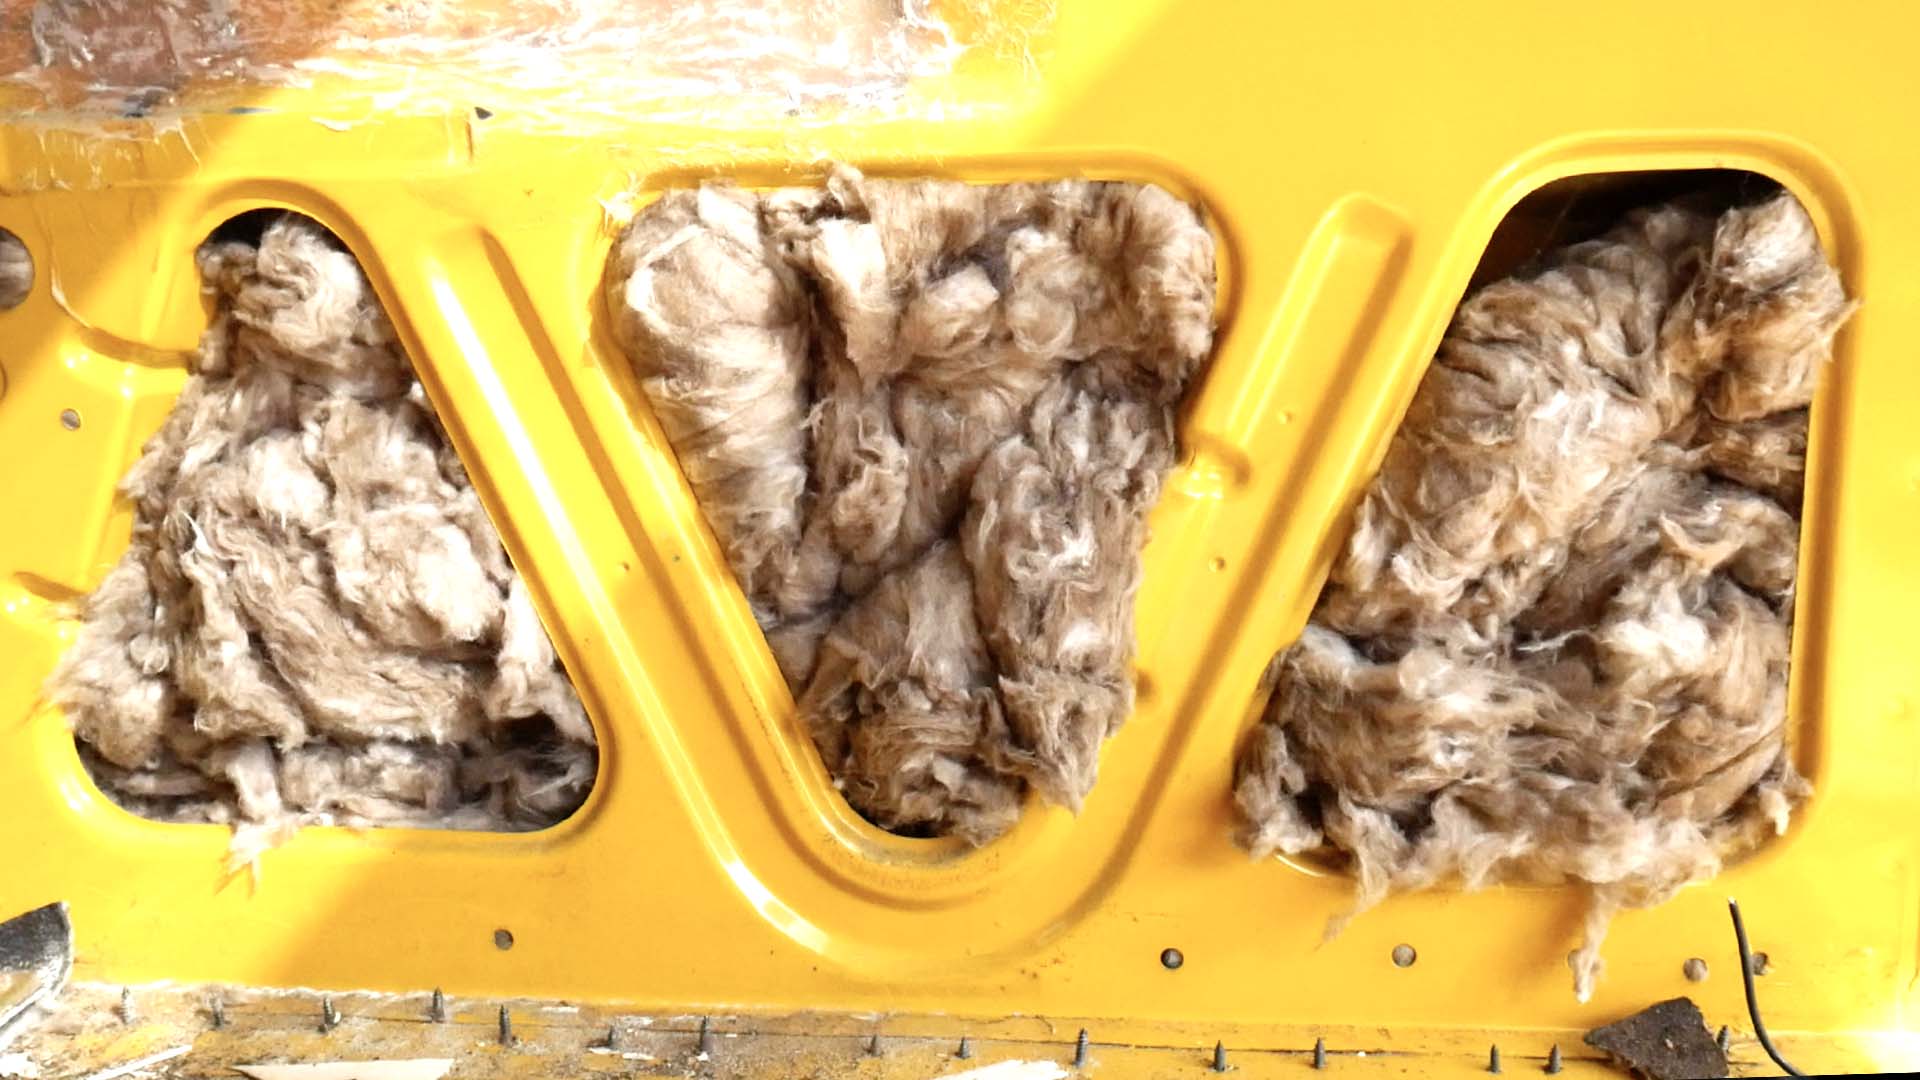
Photo credit @sebsantabarbara
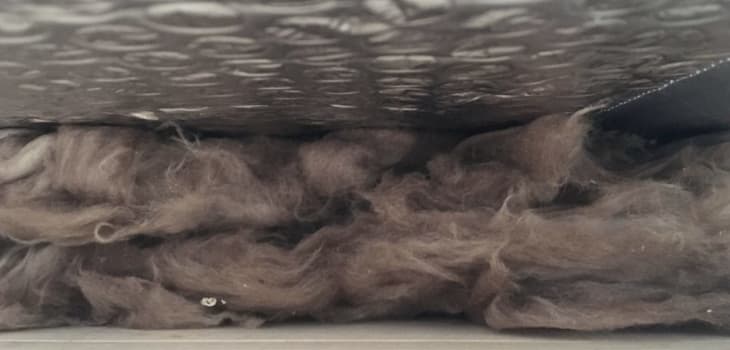
Photo credit @sebsantabarbara
If you do decide to go for loft insulation such as Eko Roll/Eco Roll, then make sure you add General-purpose insulation first and always use gloves and a mask while installing.
ThermaWrap (General-purpose Insulation)
ThermaWrap is a type of general-purpose insulation and can be best described as bubble wrap lined with silver foil on both sides. Just attach it to the walls of your camper before putting any loft insulation up there using spray adhesive and aluminium tape.
Be warned, though — general-purpose insulation shouldn’t be your only means of insulating your campervan. It’s a base layer before you add your main van insulation (excluding Celotex) and should be put everywhere you can reach!
Cladding/Plywood + Softwood Beams
All that insulation has to be held up by something, and that something will either be tongue and groove cladding or plywood boards, attached to your van using a softwood beam ribcage. For the beams (which you’ll screw into the metal ribs of your van), I would suggest using softwood pine beams the same width as your van ribs. In my case, I used cladding as opposed to plywood as I liked the aesthetic more, opting for smooth spruce tongue and groove cladding that measured 2.4 m (L) x 95 mm (W) x 7.5 mm (H). I started off with 10 packs of 12 boards.
2. Clean Your Camper
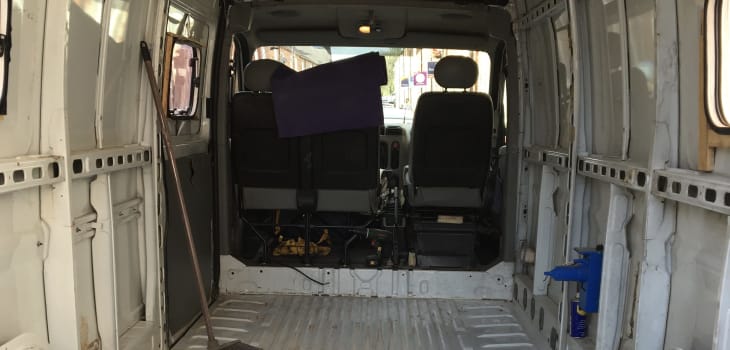
Photo credit @sebsantabarbara
I’m going to carry on through this article on the assumption that, like me, you’ve bought a second-hand van that might have had a lot of previous use. In any case, it’s important to know your van like the back of your hand, so clean it thoroughly and check for any places that might need attention before you start adding insulation into the mix.
I found a few cracks in my roof that I had to fibreglass over before I started. Cleaning the space also gives you a chance to check out the shapes of your walls/floor and find out where any existing wiring looms are while planning out where you might want windows to go.
3. Plan Your Electrical System Before Installing Insulation
I know that by this point, you just want to start sticking insulation into every nook and cranny and start planning your cladding installation, but it’s super important to think about your wiring before you do.

Photo credit @sebsantabarbara
Many guides tell you to do campervan insulation before electrics, but that just makes everything so much harder. It would be like doing brain surgery with your eyes closed.
Take the time now to plan out where your lights are going to go, calculate your energy usage with the devices you’ll be installing and sketch out where your plugs are going to go. Feed cable conduit through the metal frame of your van for all your household electric plug wires and solar wire, use a marker pen to note where lights and switches will go and install any solar panels on your roof. Do this now, and you’ll save yourself a whole heap of time and stress later.
4. Make Window & Roof Cut-Outs Before Adding Insulation
Yes, I’m telling you to do something else before you add any insulation, but like your wiring, it’s best to have windows, roof vents or chimneys installed before you start cladding.
The reason: you don’t want to have to cut through insulation to add extra elements into your build. Not only will that make it harder, but you’ll also end up wasting good insulation that you’ve paid for.
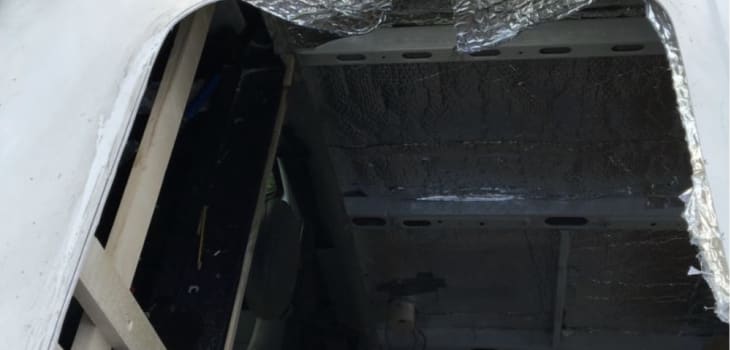
Photo credit @sebsantabarbara
The biggest reason, however, is that cutting holes in your van could potentially lead to leaks if it rains, especially here in the UK. Wait a few days after installing windows and vents to make sure they are leak free, otherwise you could damage large sections of your insulation and end up having to remove and replace at a later date.
5. Install Sound Deadening
Old vehicles can make a heck of a racket when trundling down the motorway, but adding sound deadening material to the metal floor of your cab area can significantly reduce the noise while driving and protect your ears at the same time.
My advice would be to also use it on the ribbed floor of your van, too, installing strips into each of the troughs, levelling out your floor and getting ready for your Celotex when it comes to the next step.
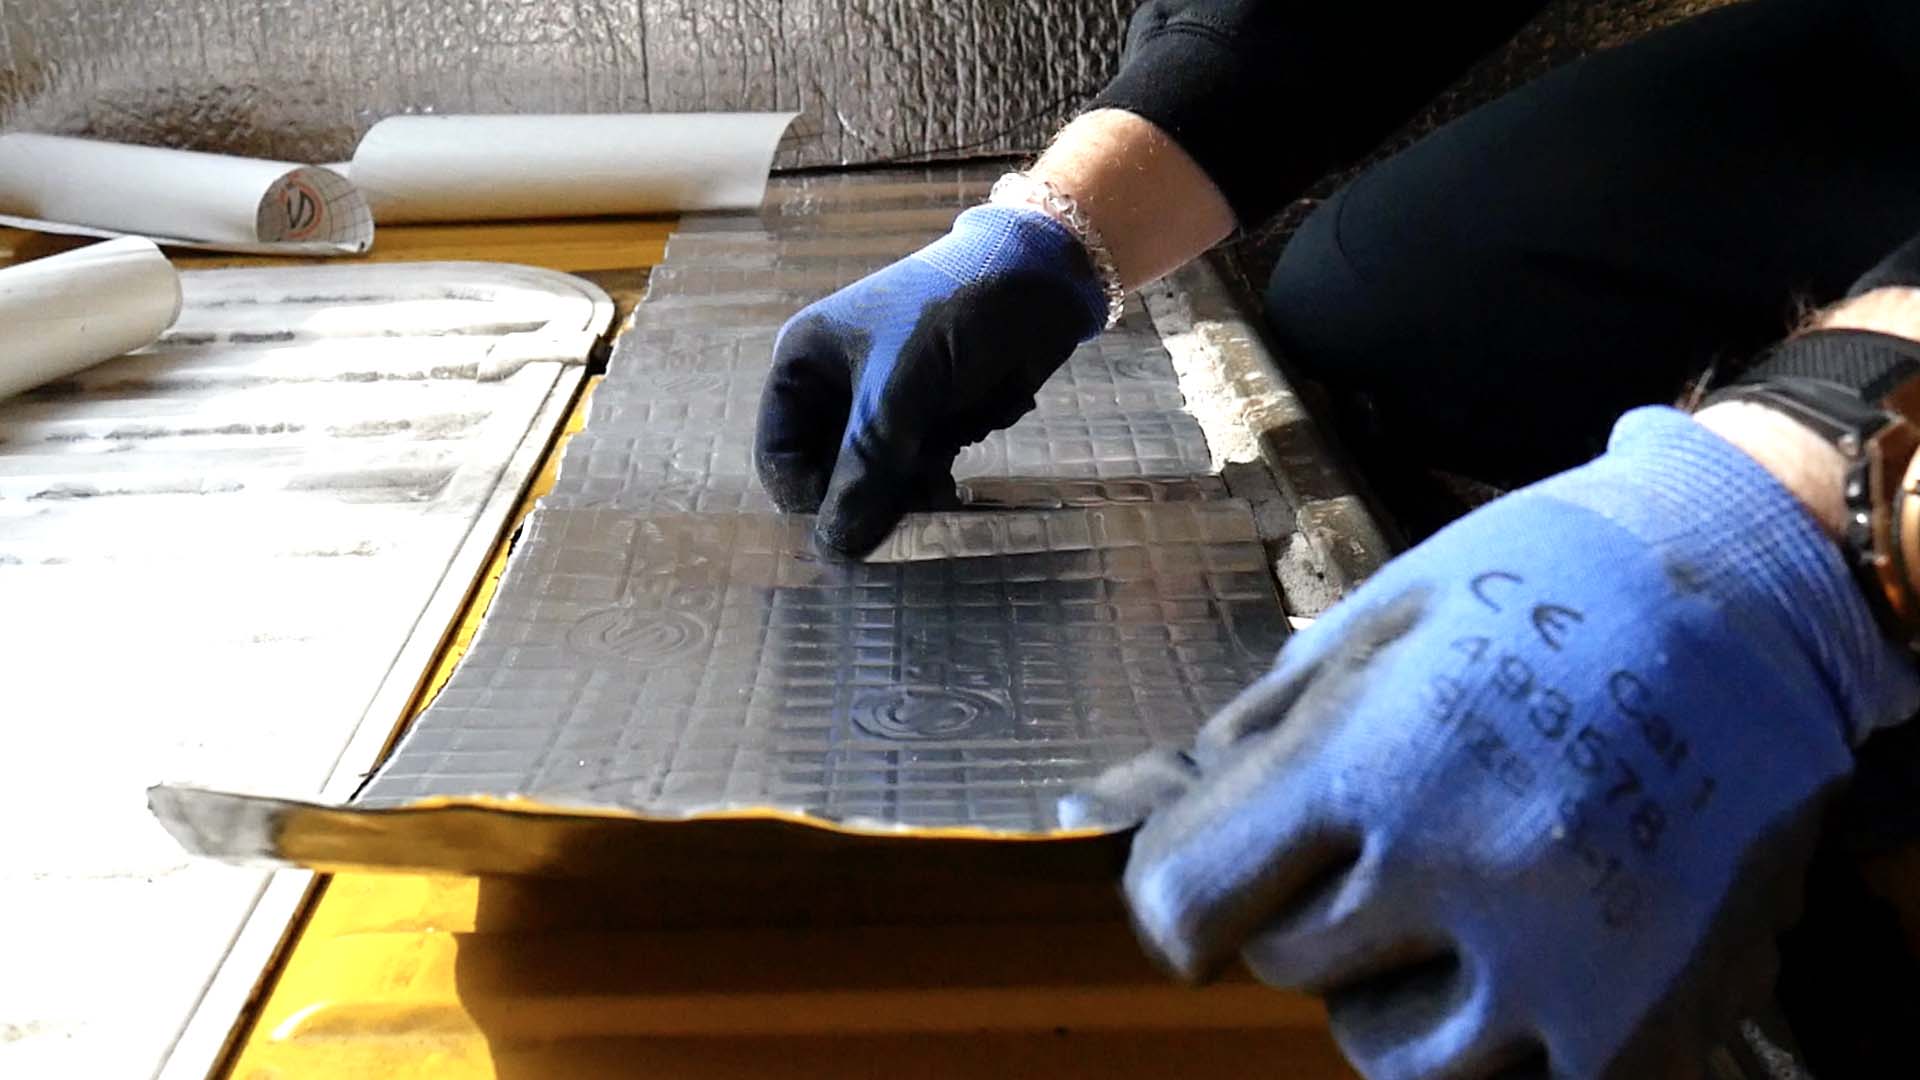
Photo credit @sebsantabarbara
6. Install Van Floor Insulation
If your van already has an existing wooden floor, then you don’t need to think about making a new one — congratulations on saving yourself some time! However, you will want to lift up the existing floor and make sure that everything is okay with the metalwork underneath. If you need to fibreglass over any existing holes or repair any rust, then you should do it now so that you can crack on with the exciting bits.
Make a frame out of softwood pine beams on the floor of your van, essentially creating a grid of 9 or 12 squares. Fill with cut-to-size Kingspan/Celotex, add any expanding foam you might need and tape over any gaps with aluminium foil. Then, when you’re done, reattach your floor by screwing it down into your pine beam frame, and you’ll have a nice toasty floor.
7. Add Your ThermaWrap Insulation
You already know how to install ThermaWrap on your van walls. Now, just use some spray adhesive, stick onto the metal of your van, then cover over any gaps with aluminium tape. As I said earlier, this is only if you’re using any other insulation apart from Kingspan/Celotex.
But why is ThermaWrap so important?
Well, it all comes down to something called thermal energy. Thermal energy moves in one direction – hot to cold. If you’re looking to earn points in a pub quiz, then I should probably tell you that this is the main point raised in the first statement of the 2nd law of thermodynamics. ThermaWrap, like the shiny side of tinfoil that you wrap around your food in the oven, significantly reduces thermal energy created inside your van from drifting out into the colder temperatures outside your camper.
8. Install the Rib Cage
It might seem like a simple step, but the rib cage is the part of the build that holds everything in place. Later in your conversion process, they’ll be acting as the anchor points for cupboards and all sorts of other exciting storage areas, but right now, they’re going keep your insulation and will hold the main bulk of your build together. As well as providing a place to screw cladding or boards into, they will also act as anchors for cupboards, spice racks and other hanging objects you might place into your build.
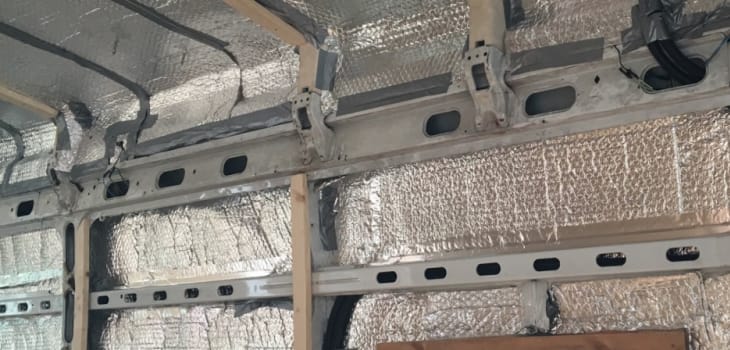
Photo credit @sebsantabarbara
Measure the height of your van, and then take note of the width of the metal ribs that poke out from your walls. Drill pilot holes in your wood using a wood drill bit the same thickness as your chosen screws and countersink, then push against the metal ribs of your van. Using an easy drive screw, attach into place and you’re done!
9. Install Your Cladding & Insulation
This part is super simple and, if you’re anything like me, quite therapeutic too. Starting on one side of your van, simply place a piece of cladding flush up against your rib cage beams at the bottom of your wall. Drill a hole through your cladding into your wooden beam and countersink, making a nice space for the head of your screw to sit in. Grab your electric screwdriver and screw the piece of cladding into place, then repeat until you have attached four or five boards to your ribcage. Then, it’s time to put down the power tools and grab your glass mineral wool insulation.
Put on your gloves and mask and start ripping off pieces to fit in the gap you’ve created between your cladding and your general-purpose insulation layer. If you’re opting for Kingspan/Celotex, cut pieces of board to size, attach with spray adhesive and fill in the gaps with expanding foam, trimming off any raw foam edges before you add your aluminium tape and cover with cladding or plywood.
10. Finish Off Any Extra Sections with Expanding Foam & Get Creative
Don’t worry if you have any extra areas that need a little more insulation, such as the edges of walls. You can easily fill these in with some expanding foam but use it sparingly. I sealed off wall gaps with foam once all my wires were installed and then covered exposed edges with lengths of rope to tidy them up.
Once again, just make sure you’re not blocking areas of cable conduit where wires need to be pulled through; there’s no going back once you use expanding foam!
About the Author

Lippert guest blogger, Sebastian Antonio Santabarbara, is a thirty-two-year-old writer from Yorkshire, UK. His first breakthrough role came as the Head of Written Content for Van Clan, an online media brand documenting the van life movement with a weekly reach of over 5 million readers. This role has led to Sebastian being head-hunted to write several inspirational non-fiction books on alternative living (to be published by Frances Lincoln 2022/23) and Van Life for Dummies (published by John Wiley & Sons Sept 2022). He is also the Editor in Chief for Retro Dodo, a media/news company with a monthly reach of 1 million people. Follow his travels on Instagram!
Recent Posts
7 Best Countries for Wild CampingTop Tips for Self Van Builders
5 Best Camper Van Batteries
Common Van Life Problems and How to Combat Them
How Much Does Vanlife Cost
How to Save Space by Choosing the Right Campervan Bed Insights From Vanpuravida
5 Easy Van Life Recipes
Is Vanlife Legal?
Expert Tips for Cleaning a Campervan
Things You Need to Know When Living in a Camper
View All ›
Never miss a blog post!
Subscribe to Lippert’s blog and receive an email when a new one is posted.